
Schaumburg Local
Drywall Installation
New walls, room additions, and full buildouts handled by an experienced crew across the northwest suburbs.
Free estimate
Tell us what you need
Three fields. It reaches a person here, not a call centre.
What solid drywall installation actually takes
Drywall installation is one of those jobs that looks straightforward until you're hanging a 12-foot sheet on a ceiling by yourself or trying to get a seam perfectly flush on a corner that isn't quite 90 degrees. The Local Handyman LLC has been doing this work across the northwest Chicago suburbs since 2016, and we've seen what happens when it's rushed. Call us at (773) 444-7153 before the project starts, not after the tape is bubbling.
What drives the cost of a drywall installation job is mostly scope and access. A single finished room is a very different project from a basement buildout with soffits, or adding a wall to carve up an open floor plan. Sheet thickness matters too: 5/8-inch fire-rated board costs more and weighs more than standard half-inch, but some applications require it. Then there's finishing level. A level 4 or 5 finish, the kind you need before painting with a flat sheen, takes significantly more time than a level 3 that'll go behind a texture coat. We'll walk you through what your specific job actually needs. Every job is different, contact The Local Handyman LLC for an accurate estimate.
What we cover on a drywall installation job
- 01
Framing and layout
We confirm stud layout and blocking are in place before a single sheet goes up. Hanging over bad framing is how you get wavy walls that show through paint.
- 02
Hanging and fastening
Sheets are cut to fit, then fastened to framing with the right screw pattern. Overdriving screws pops the paper face. We don't do that.
- 03
Taping and mudding
Three coats minimum on seams, feathered wide enough that no ridge shows at the joint. Rushing this stage is where most DIY jobs fall apart.
- 04
Finish sanding
Final sanding before primer. The finish level we sand to depends on what paint sheen you're using. Flat paint hides more than semi-gloss does.
How We Work
Our drywall installation process
Three stages, done in order, no shortcuts between them.
- 01
Measure, cut, hang
We assess the space, account for outlets, switches, and odd angles, then cut and hang sheets to the framing. Ceilings go up before walls.
- 02
Tape, mud, coat
Seams get taped immediately after hanging. Then it's three rounds of joint compound, each one feathered wider than the last, with dry time between coats.
- 03
Sand, prime, done
We sand smooth, confirm the finish level meets your paint plan, and clean up. What you get is a wall that's ready for interior paint or tile.
When to call a pro instead of doing it yourself
Ceilings
Hanging drywall overhead requires at least two people and the right lift equipment. A solo DIY ceiling job almost always ends with a cracked sheet or a bad seam.
Finishing to paint-grade
Getting seams to disappear under paint takes practice. Level 4 and 5 finishes are not something you pick up the first time. If you can see the seam, the job isn't done.
Fire-rated assemblies
Garages, basement utility rooms, and walls adjacent to furnaces often require 5/8-inch Type X board with specific fastener spacing. This isn't optional if your home goes on the market.
Large open areas
An open basement, great room addition, or studio buildout has a lot of linear footage of seams. More seams means more mud, more coats, more sanding. Scale matters.
Real Work
See the projects we've completed
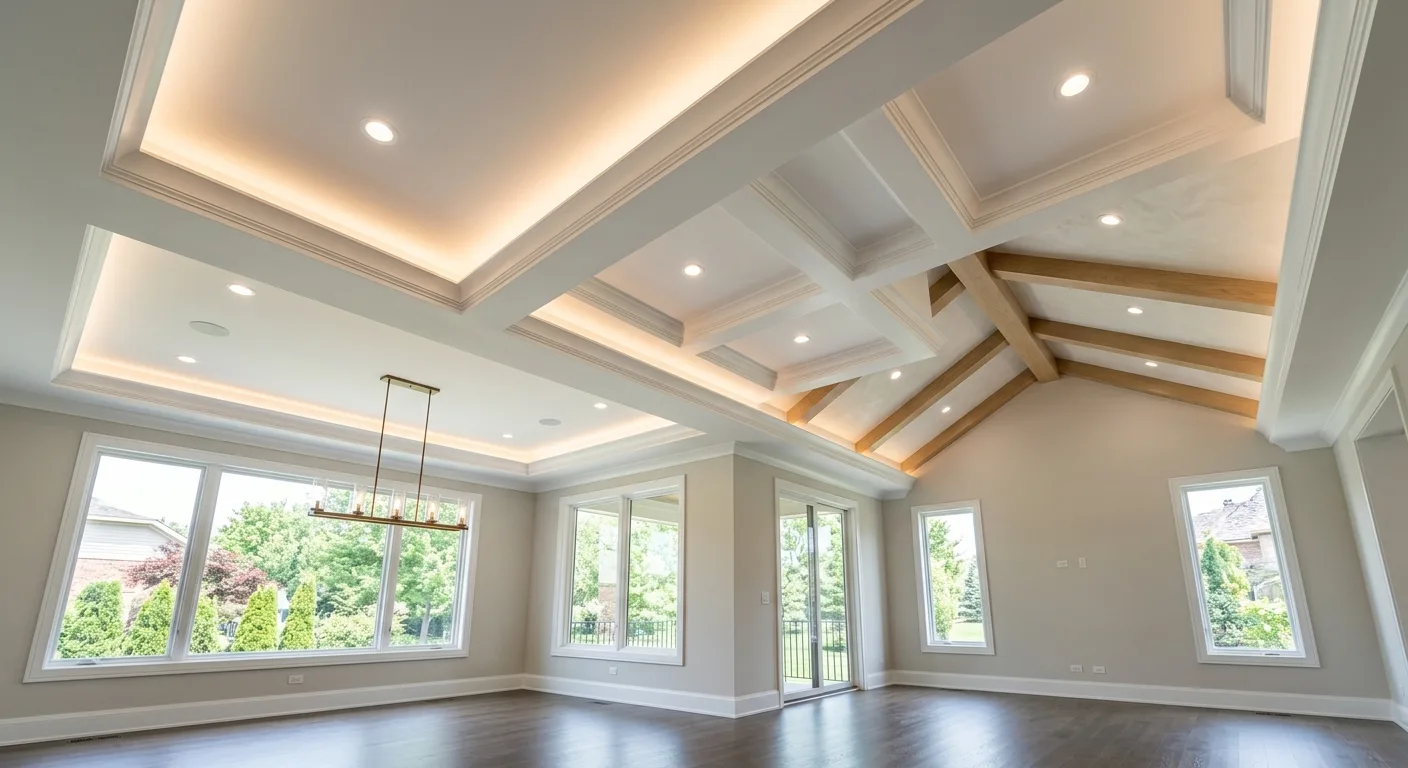
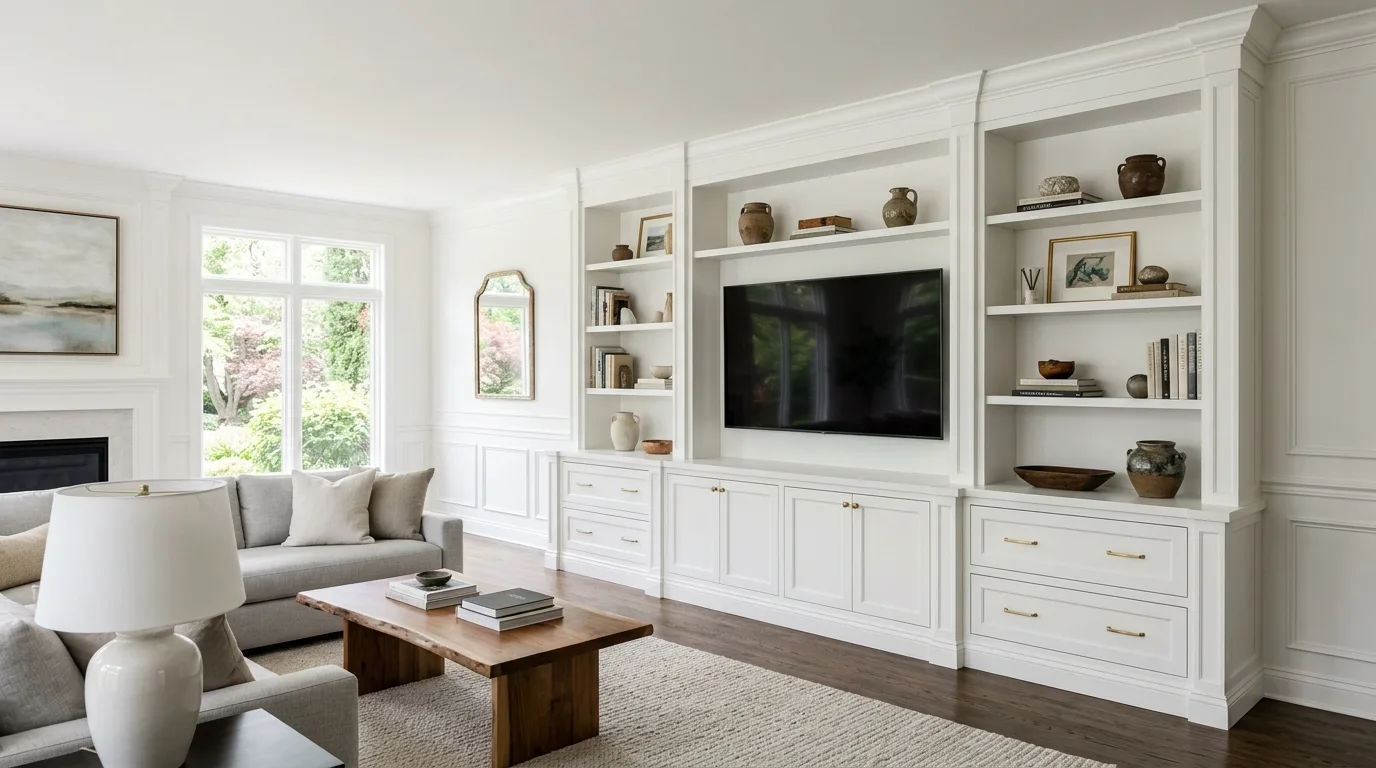
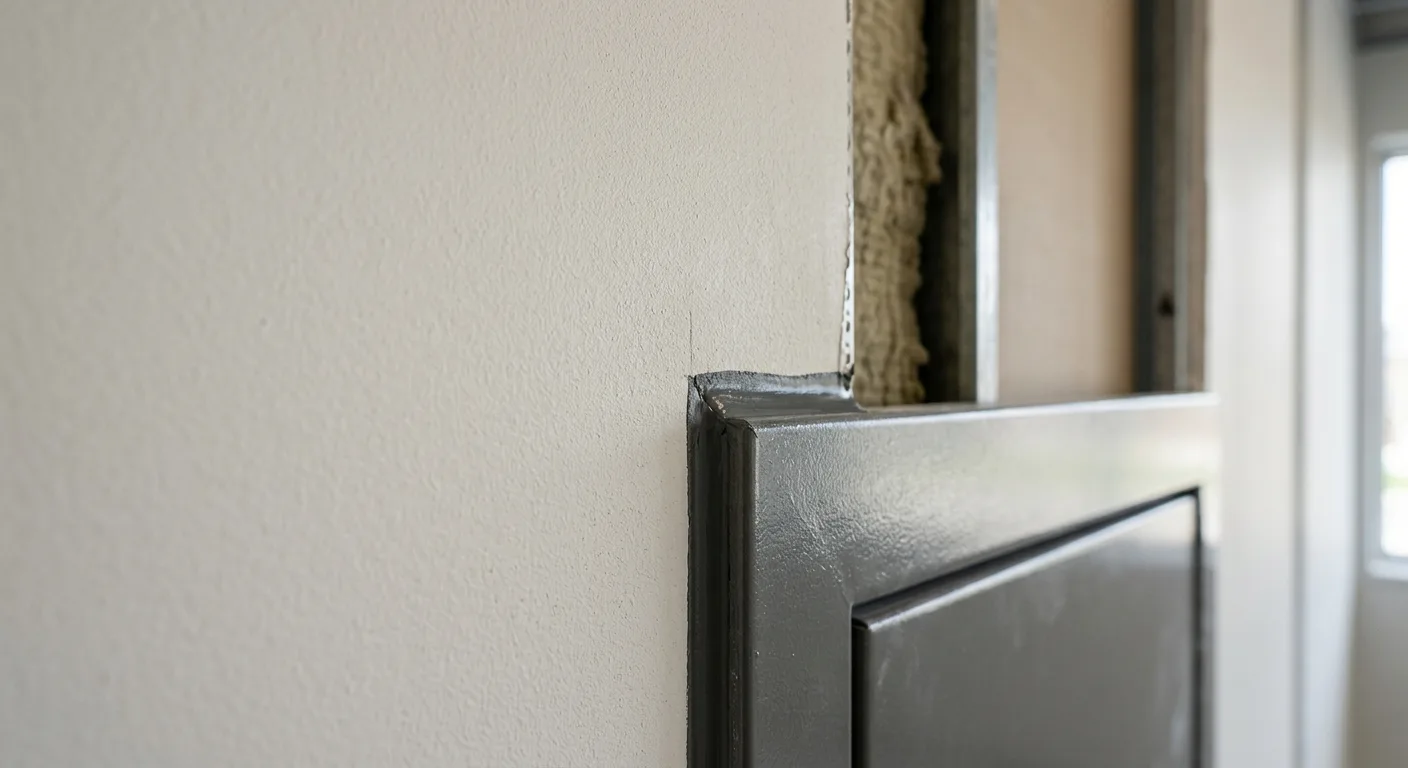
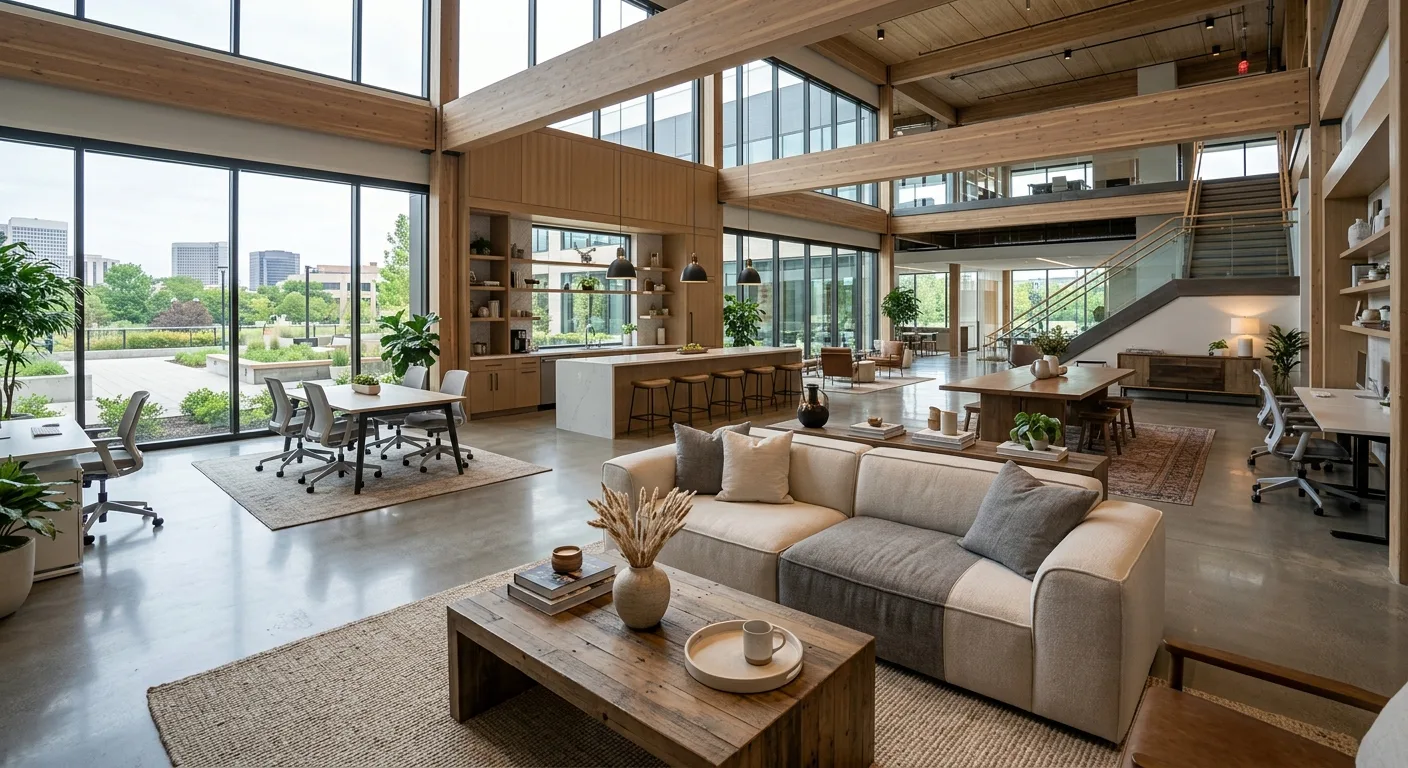
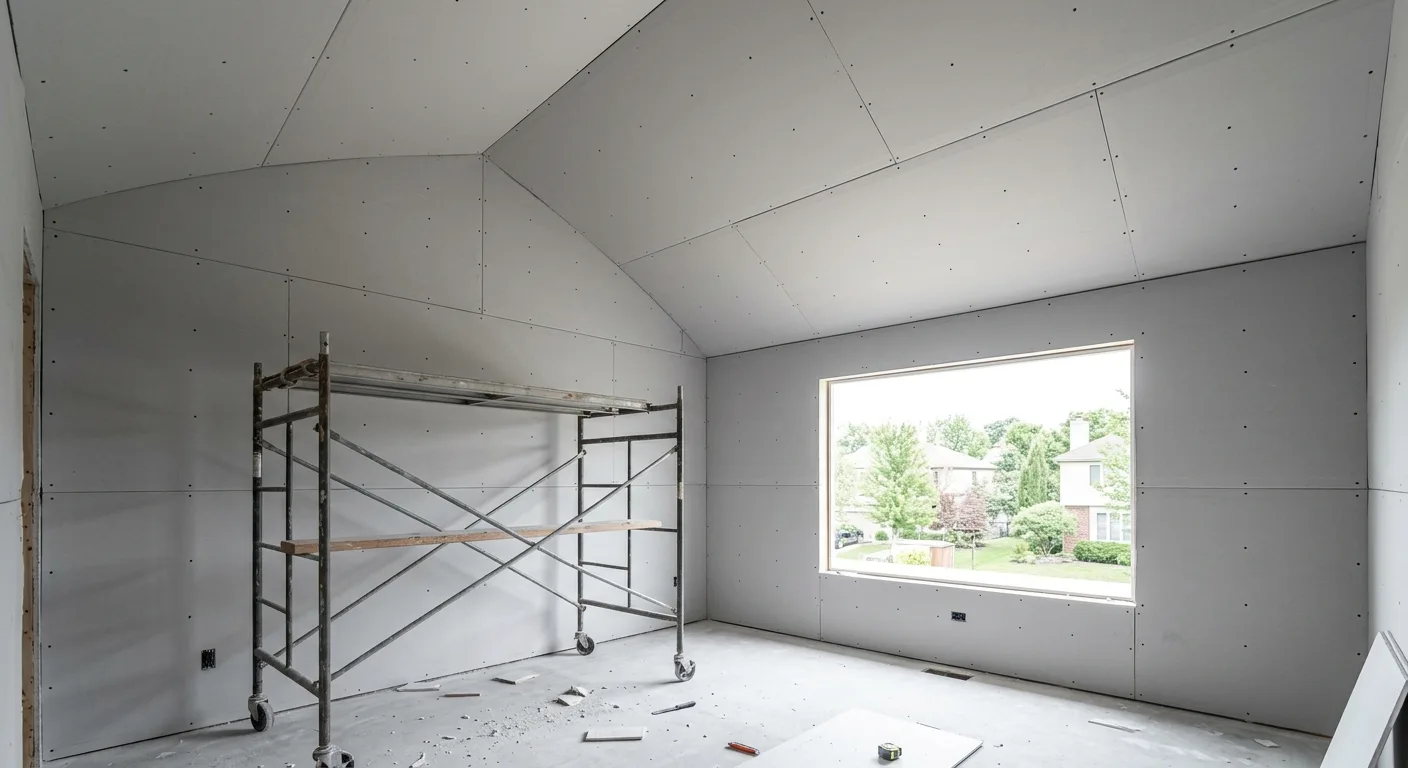
Drywall work alongside other jobs
Straight from Google
What our customers say
Jacob did an incredible job installing a new light fixture for us. He was communicative throughout the process and also took the time to explain some other projects he could help us with around the house. We will definitely be calling him again for our next job. Highly recommend!
 Blake FalangaOct 2026 · Google
We had a great experience with this handyman. He was professional, punctual, and clearly knew what he was doing. The work was completed carefully and efficiently, and he made sure everything was clean when finished. He communicated well throughout the job and charged a fair price. I would definitely recommend him to anyone looking for reliable home repairs or improvements.
 Rasa RuzgieneSep 2026 · Google
Common questions about drywall installation
How much does drywall installation cost?
What's the difference between a level 3 and a level 5 finish?
How long does drywall mud need to dry between coats?
Do I need a permit for drywall installation in Illinois?
Can drywall installation be done in a basement with moisture issues?
What's the difference between a level 3 and a level 5 drywall finish?
How long does joint compound need to dry between coats?
Is moisture-resistant drywall required in a bathroom?
Can drywall installation be done as part of a larger remodel?
Ready to get your walls finished right?
The Local Handyman LLC has been handling drywall installation across the northwest Chicago suburbs since 2016.